- Offer
Products
Additional services and products
- Download
- Good to know
- Training
- Promotional program
- Inspirations
- About company
- Szukaj
- Contact us
- EN
MENU
Modern steel gutter systems are very durable and, when assembled properly, will function reliably for many years. Which system should you choose? What is the proper procedure for assembling gutters? What do you need, and what mistakes should you avoid?

This post discusses the following topics:
The assembly of a gutter system is usually done in conjunction with the assembly of roof coverings; that is, it begins immediately after the pre-covering is completed—in the case of pitched roofs.
The membrane is laid out on the rafters and adhered to the condensation eaves strip, and then a substructure is built using 40 x 60 mm battens and counter-battens (it is recommended to join the membrane at the seams using adhesive or double-sided tape; membranes with a double adhesive strip are also available). Grooves are cut where the rafter hooks will be installed. Insect netting is stretched along the roof edges to protect against insects and rodents. In the case of frontal supporting hooks, which are attached to the fascia board, the work involving the insect screen is performed in the same manner, but only after the gutters have been assembled. However, before assembly of the hooks, the barge flashing (under-gutter flashing) and condensation eaves strip (for the membrane) must be installed.
Gutter hooks must be properly spaced—the first one about 15 cm from the edge of the batten, and subsequent ones every 50–60 cm. The hooks should be set back 30 mm from the fascia board to ensure a ventilation gap at the inlet throughout the year. When installing the gutter hooks, ensure the gutter has a slope of 3 mm per 1 m toward the downspout—that is, toward the Outlet, which is the lowest point of the gutter system. Gutter hooks at gutter joints (near the gutter connector) should be spaced no more than 30 cm apart to ensure adequate stability and a tight seal at the joint.
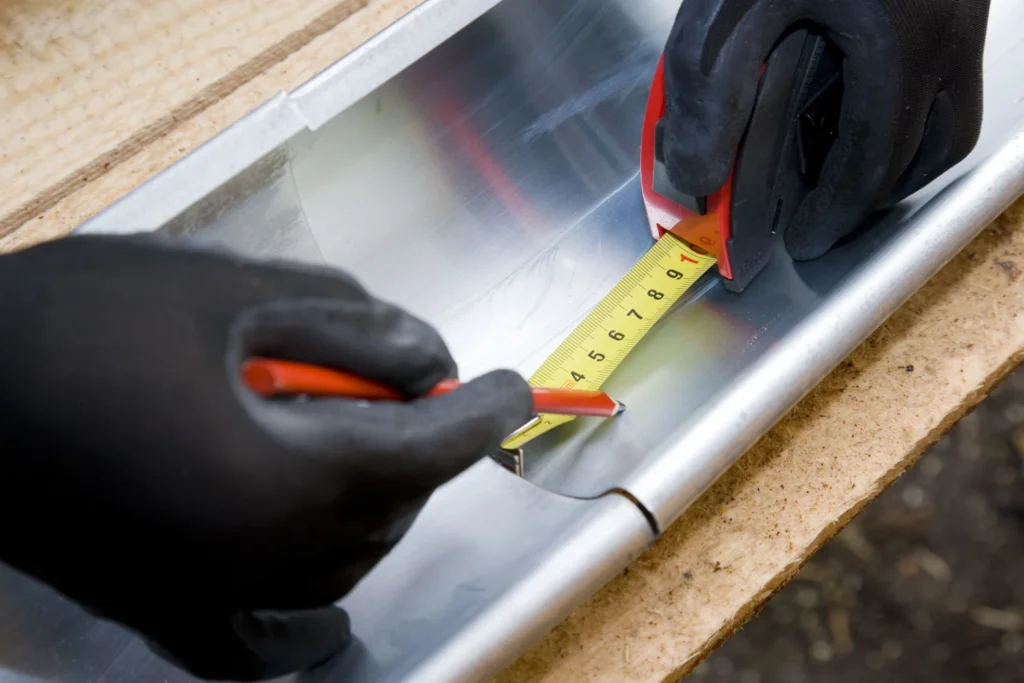
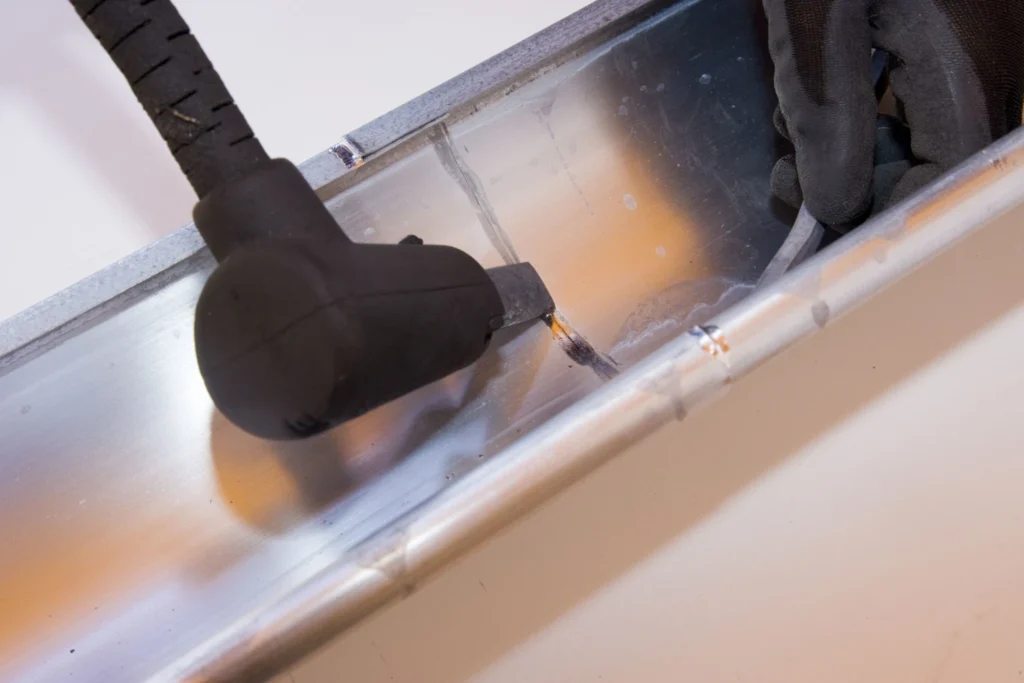
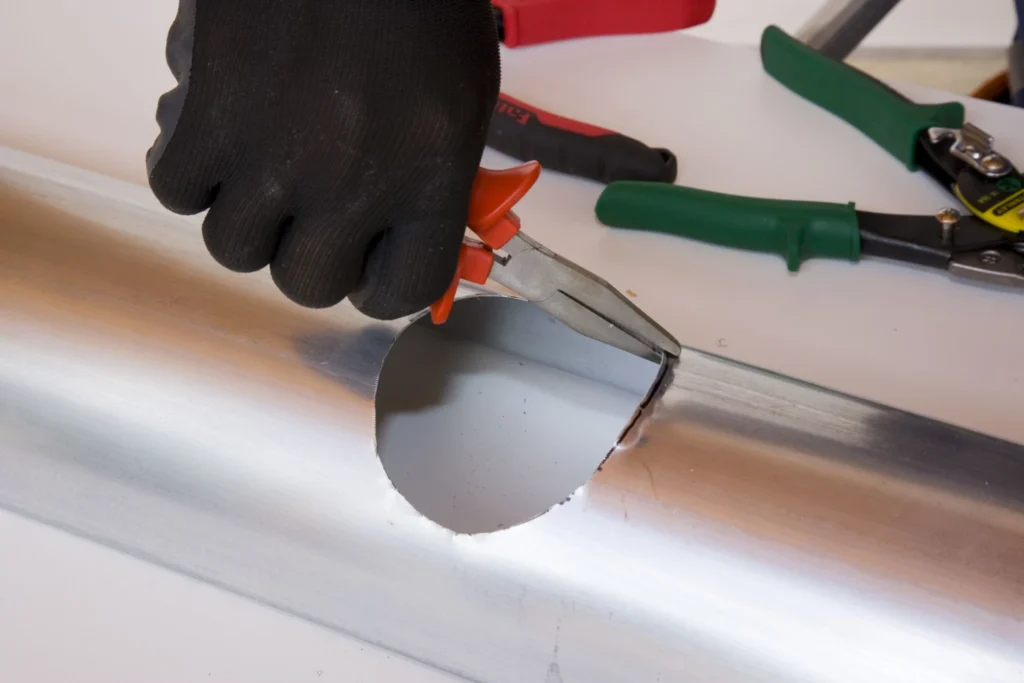
First, cut a hole in the bottom of the Gutter—at the point where the downspout will be located. Make sure the hole is the same diameter as the opening in the Outlet (equal to the diameter of the drain pipe) and that its edges are bent downward so that the flowing water breaks off at the edge. This solution ensures optimal drainage and reduces the risk of water droplets being drawn up by capillary action beyond the Outlet area. Before hooking the gutters onto the brackets, remove the protective film from them. It is important to leave a 5–10 mm expansion joint between the gutters to allow for thermal movement. You can also join the gutters by overlapping them, inserting one gutter into another. Then, connect the gutters using couplers. Gutter connections to corner pieces are made in a similar manner, with the difference that it is recommended to make this connection by overlapping; to do this, cut the flange of the corner piece so that it can be inserted into the flange of the gutter. This solution improves the stability of this component; however, it is important to ensure that overlapping joints are made in the direction of water flow. A downspout outlet connector is installed at the downspout outlet . It is fitted from the front of the gutter by bending the mounting tabs on the back panel. At the end of the gutter section, a closing cap is required, which is connected to the gutter by pressing it into place. Manufacturers offer various end caps; for example, the Blachy Pruszyński Company offers three types of end caps for Niagara gutter systems—two of which are equipped with a gasket, while one requires an adhesive.
The flashings are installed on the first batten, with its lower edge inserted into the gutter, while ensuring that they are aligned in a straight line. This plays a significant role in the assembly of roof coverings.
Drain pipes are installed using clamps equipped with pins that attach to the building wall. The length of the pin depends on the thickness of the insulation on the building wall. It is recommended to space the downpipe brackets 1.5 m to 2 m apart. Two downspouts are connected using a pipe socket. In roofs with an eave, elbow fittings—known as “offset fittings”—are additionally installed; these consist of two elbows connected by a drain pipe of appropriate length, linking the drain pipe to the Outlet. From below, the drain pipe is fed into a sump or fitted with a spout at its end.
Assembly of a hidden gutter system —in the case of a square gutter—requires, as the final step, hooking the cover components onto the gutter hooks and connecting all cover elements to one another. In the case of a round gutter system with a cover, the brackets for mounting the cover must be installed during the hook assembly stage—the advantage of the round system is the ability to set the gutter’s slope while simultaneously installing the cover horizontally. When assembling a concealed gutter system, assembly of the gutters is one thing, but other tasks are also necessary, such as constructing the cornice and its flashings, or preparing thermal insulation for the downspouts. Pre-made insulation fittings come in handy; keep in mind that for this type of system, the minimum insulation thickness on the building wall is 20 cm. All components are part of a complete drainage system.
Proper assembly of gutters is essential to ensure their functionality and watertightness; it also plays a major role in their appearance. Before beginning assembly, be sure to review the guidelines provided in the manufacturer’s installation instructions. The recommendations in these manuals specify the order of the work to be performed, the necessary components, and the required tools.
The most common mistakes include:
Assembly of gutters is a challenging task. This is especially true for metal gutters. Steel gutters require careful handling, so when assembling them, you must do so meticulously and in a way that does not damage the material.
Metal gutters can be made of various materials. The market offers coated steel gutters, galvanized gutters, copper gutters, and gutters made of alloys containing zinc, titanium, or aluminum. Remember to always use tools appropriate for the specific material when installing gutters. In addition to the material, metal gutters also differ in shape— they can be round or square. Hidden gutter system is also popular, including the concealed system— where downspouts are hidden within the insulation layer and are not visible on the building’s facade. The cover then conceals the gutters, enhancing the building’s aesthetics, especially on roofs without eaves, which are characteristic of modern architecture.
The decision regarding the material the gutters should be made of, their shape, and which system to choose is usually made during the design phase and is based on aesthetic preferences, durability expectations, and the available budget. When it comes to the system’s technical parameters, the criteria are more stringent. For example, the length and depth of the gutters depend on the size of the roof surface, while the types of mounting brackets depend on the specifics of the system and the roof’s construction. The selection of solutions should always be considered on a case-by-case basis for each specific building.
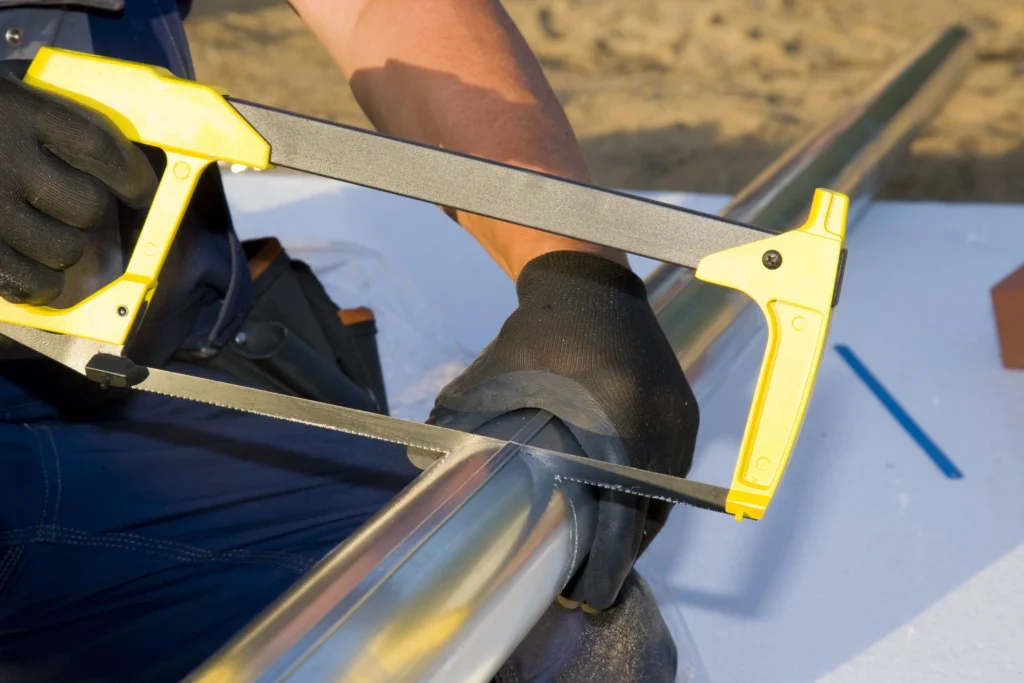
The assembly of metal gutters does not require any complicated tools. The basic equipment includes:
Not sure which gutter system to choose? Looking for reliable roofers? Contact the advisors at Blachy Pruszyński Company.





Znalezienie rzetelnej ekipy budowlanej jest sporym wyzwaniem. Warto za poszukiwania zabrać się minimum 2-3 miesiące przed […]
Read moreJak czyścić blachodachówkę Blachodachówka na dachach polskich domów jest spotykana najczęściej. Inwestorzy doceniają jej wysoką jakość, […]
Read moreWymiana starego pokrycia dachowego – na co warto zwrócić uwagę? Wymiana starego pokrycia to nie tylko […]
Read more